
How to Remove and Replace a SEW Eurodrive MC07B0011-5A3-4-00
If you need to replace a SEW Eurodrive MC07B0011-5A3-4-00 motor controller, this guide will walk you through the steps to effectively remove and replace it. Ensure you follow all safety protocols and manufacturer guidelines during the process.
Tools and Materials Needed
- Screwdriver (appropriate size for your screws)
- Torque wrench
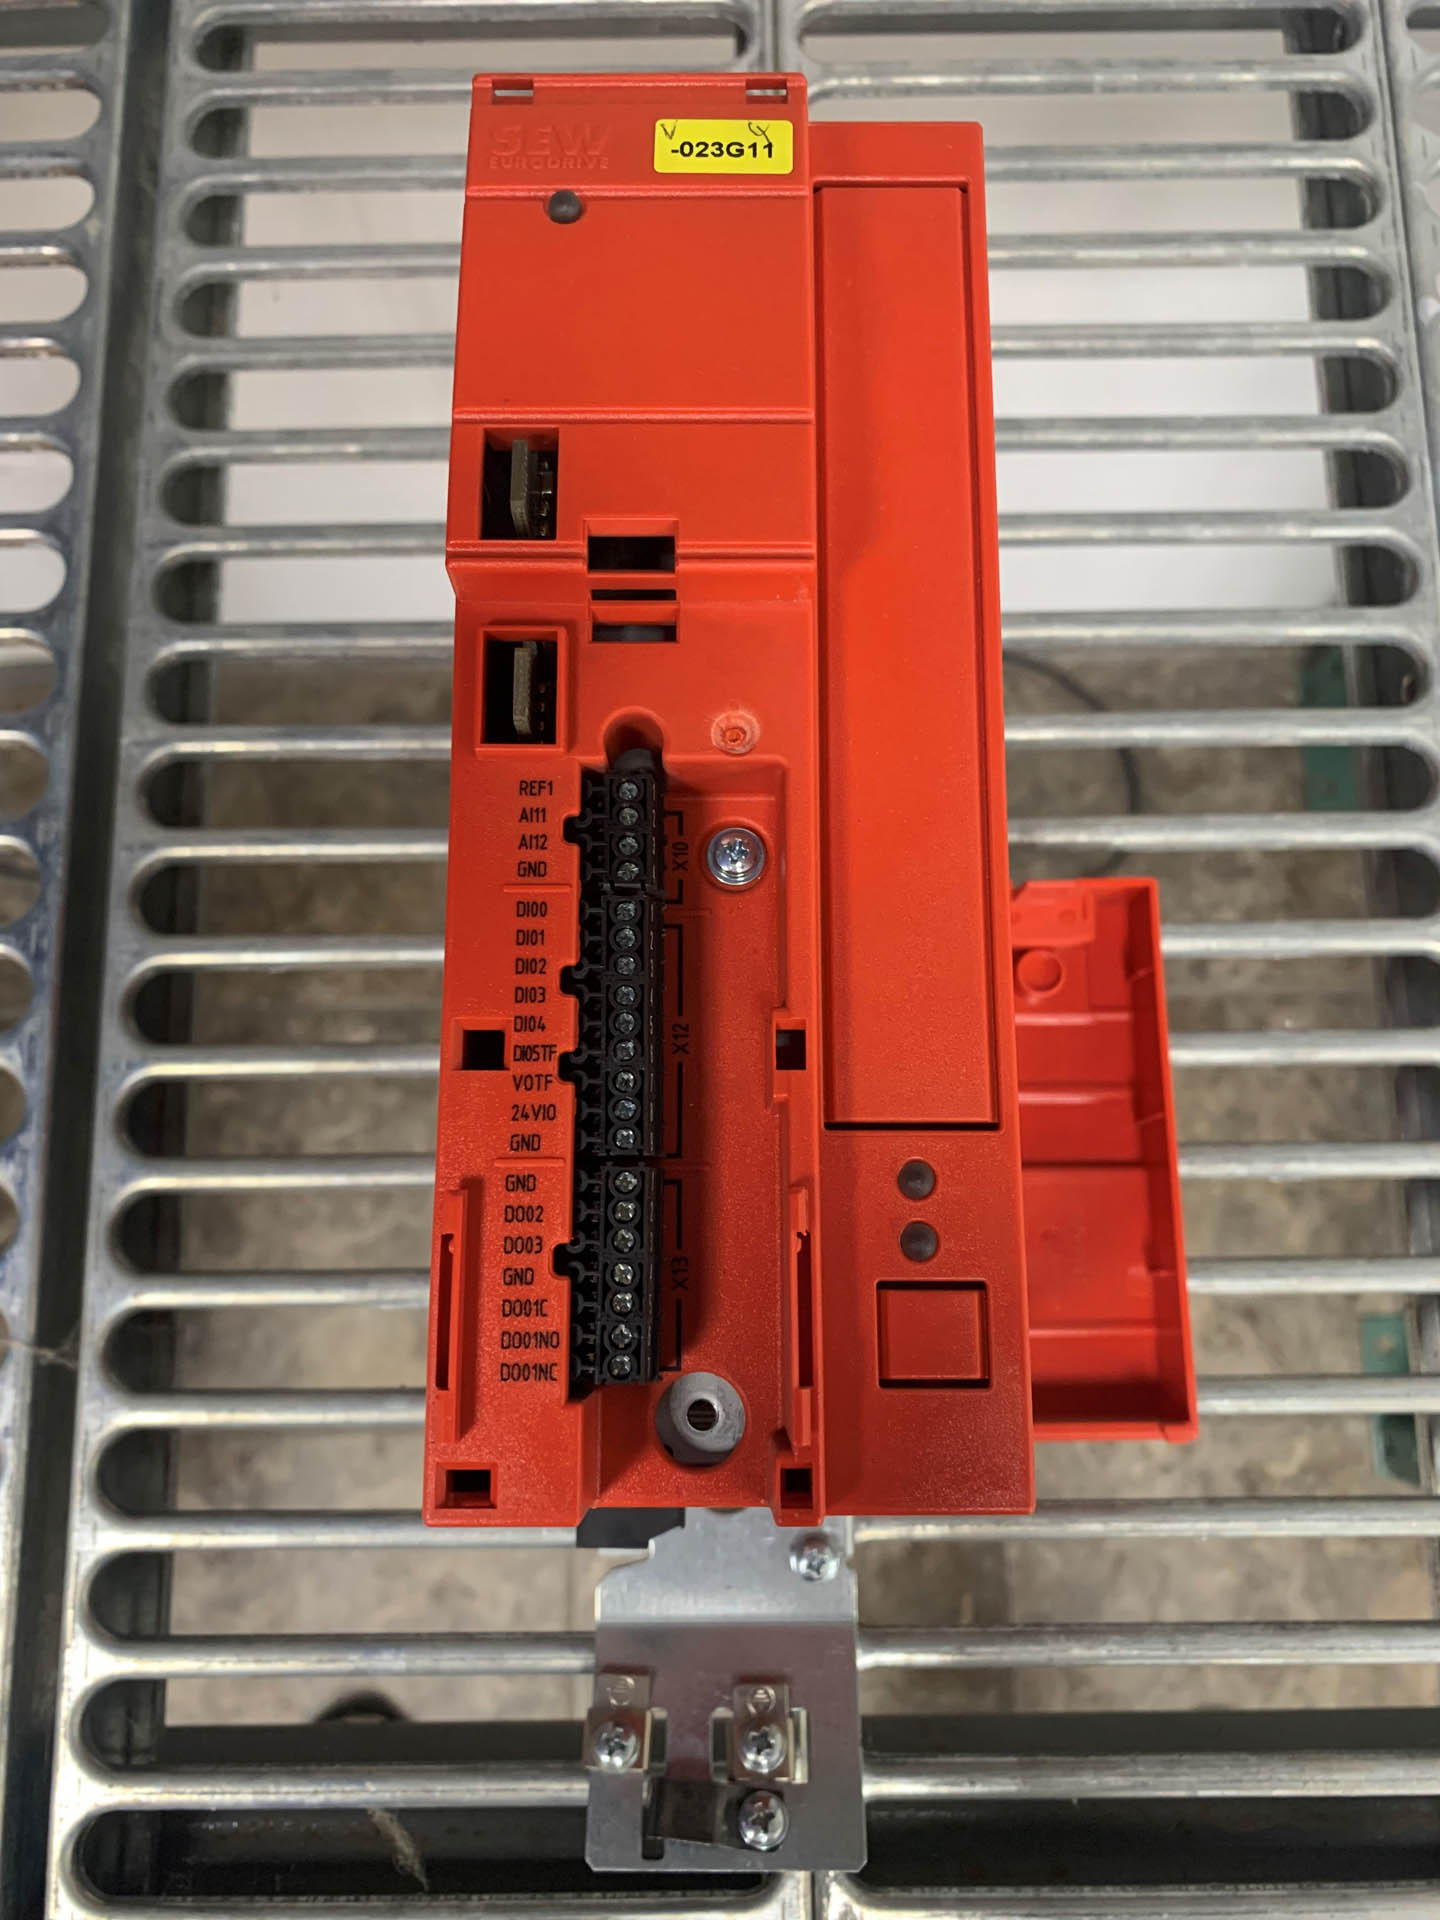
- Replacement SEW Eurodrive MC07B0011-5A3-4-00 controller
- Safety gloves and goggles
Step 1: Ensure Safety First
1. Power Down: Disconnect power to the motor controller. This is critical to ensure your safety while working.
2. Lockout/Tagout: Follow lockout/tagout procedures to prevent accidental re-energization.
Step 2: Remove the Old Controller
1. Access the Controller: Open the control cabinet or enclosure where the MC07B0011-5A3-4-00 is mounted.
2. Disconnect Wiring: Carefully label and disconnect all wiring from the controller. Take note of where each wire connects for easier reinstallation.
3. Unscrew the Controller: Remove any screws or fasteners holding the controller in place. Keep these screws for the new installation.
4. Remove the Controller: Gently pull the controller out from its mounting position. Be cautious of any attached components.
Step 3: Prepare for Installation
1. Inspect the Mounting Area: Check for any damage or debris in the area where the controller was mounted. Clean as necessary.
2. Review Documentation: Familiarize yourself with the specifications and installation instructions for the new MC07B0011-5A3-4-00 controller.
Step 4: Install the New Controller
1. Position the New Controller: Place the new SEW Eurodrive MC07B0011-5A3-4-00 in the same location as the old one, aligning it with the mounting holes.
2. Secure the Controller: Use the screws you removed earlier to secure the controller in place. Ensure they are tightened to the manufacturer’s specifications
using a torque wrench.
3. Reconnect Wiring: Refer to the labels you made earlier and reconnect all wiring to the new controller. Double-check for proper connections.
Step 5: Final Checks
1. Inspect the Installation: Ensure that all connections are secure and that there are no loose wires.
2. Close the Control Cabinet: Securely close any enclosures or doors that were opened during the installation.
Step 6: Power Up and Test
1. Remove Lockout/Tagout: Follow your organization’s procedures to remove lockout/tagout devices.
2. Power On: Restore power to the system and monitor for any unusual sounds or indicators.
3. Test the Controller: Run a test cycle to ensure that the new controller is functioning properly and communicating with the rest of the system.
Disclaimer
Every component is unique, and it is crucial that technicians follow their company’s protocols and consult with their management before attempting any replacement. We are not responsible for any accidents or damage to equipment resulting from the application of this guide. Always prioritize safety and refer to the manufacturer’s documentation for specific instructions related to your model and application.
Conclusion
Replacing a SEW Eurodrive MC07B0011-5A3-4-00 motor controller can be a straightforward task with the right preparation and attention to detail. By following these steps, you can assist in a successful replacement and keep your industrial processes running smoothly.